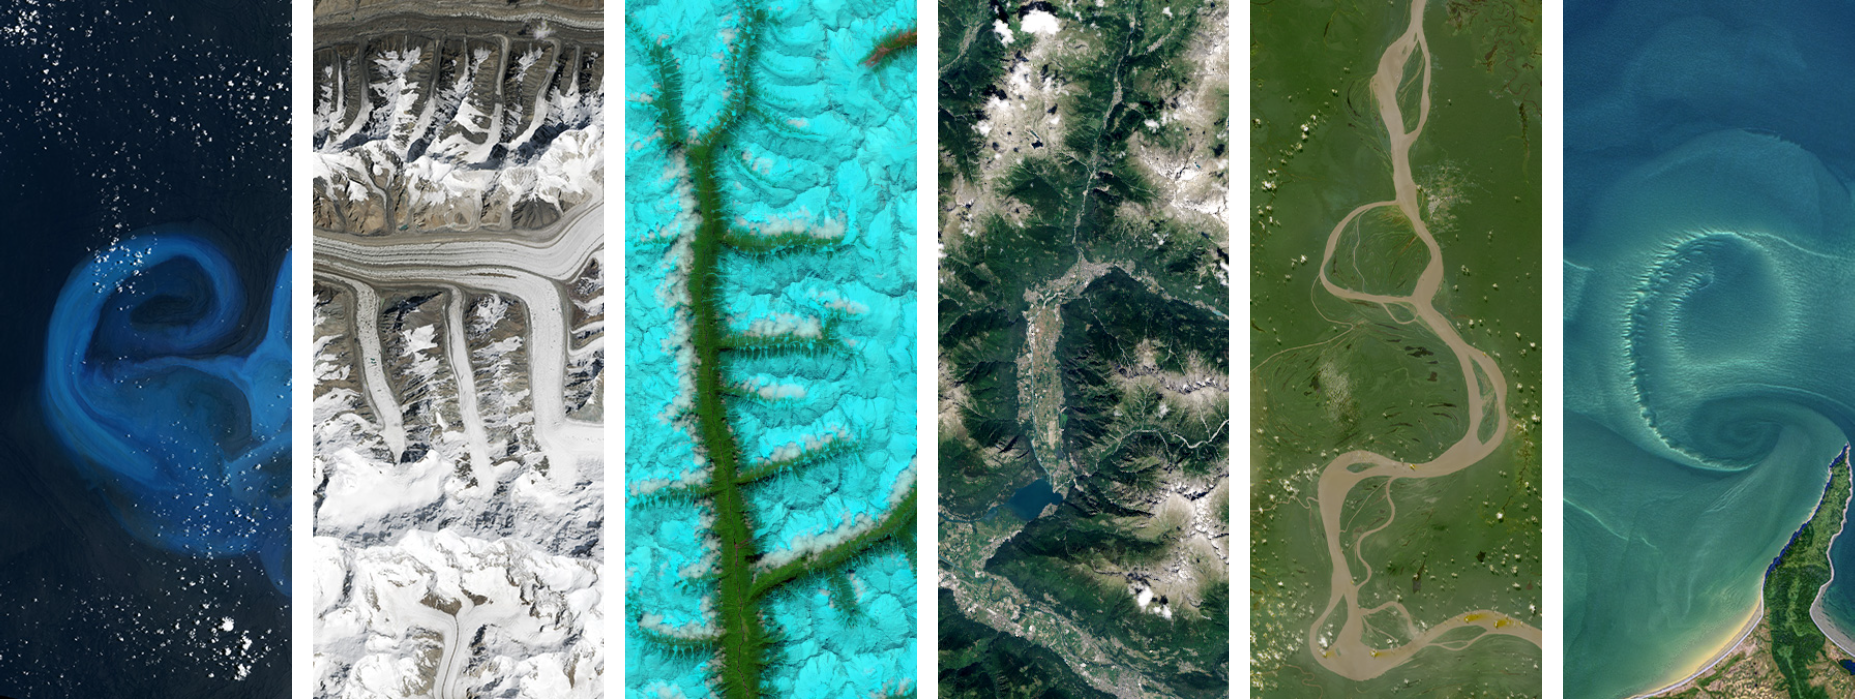
Get Google Earth Engine#
Note
We recommend using an @gmail.com address instead of an institutional .org or .edu email address. This is because Google Cloud may have different options based on your institutional email’s settings. Thus, we found that Gmail may be the best for working with Google Earth Engine for educational purposes.
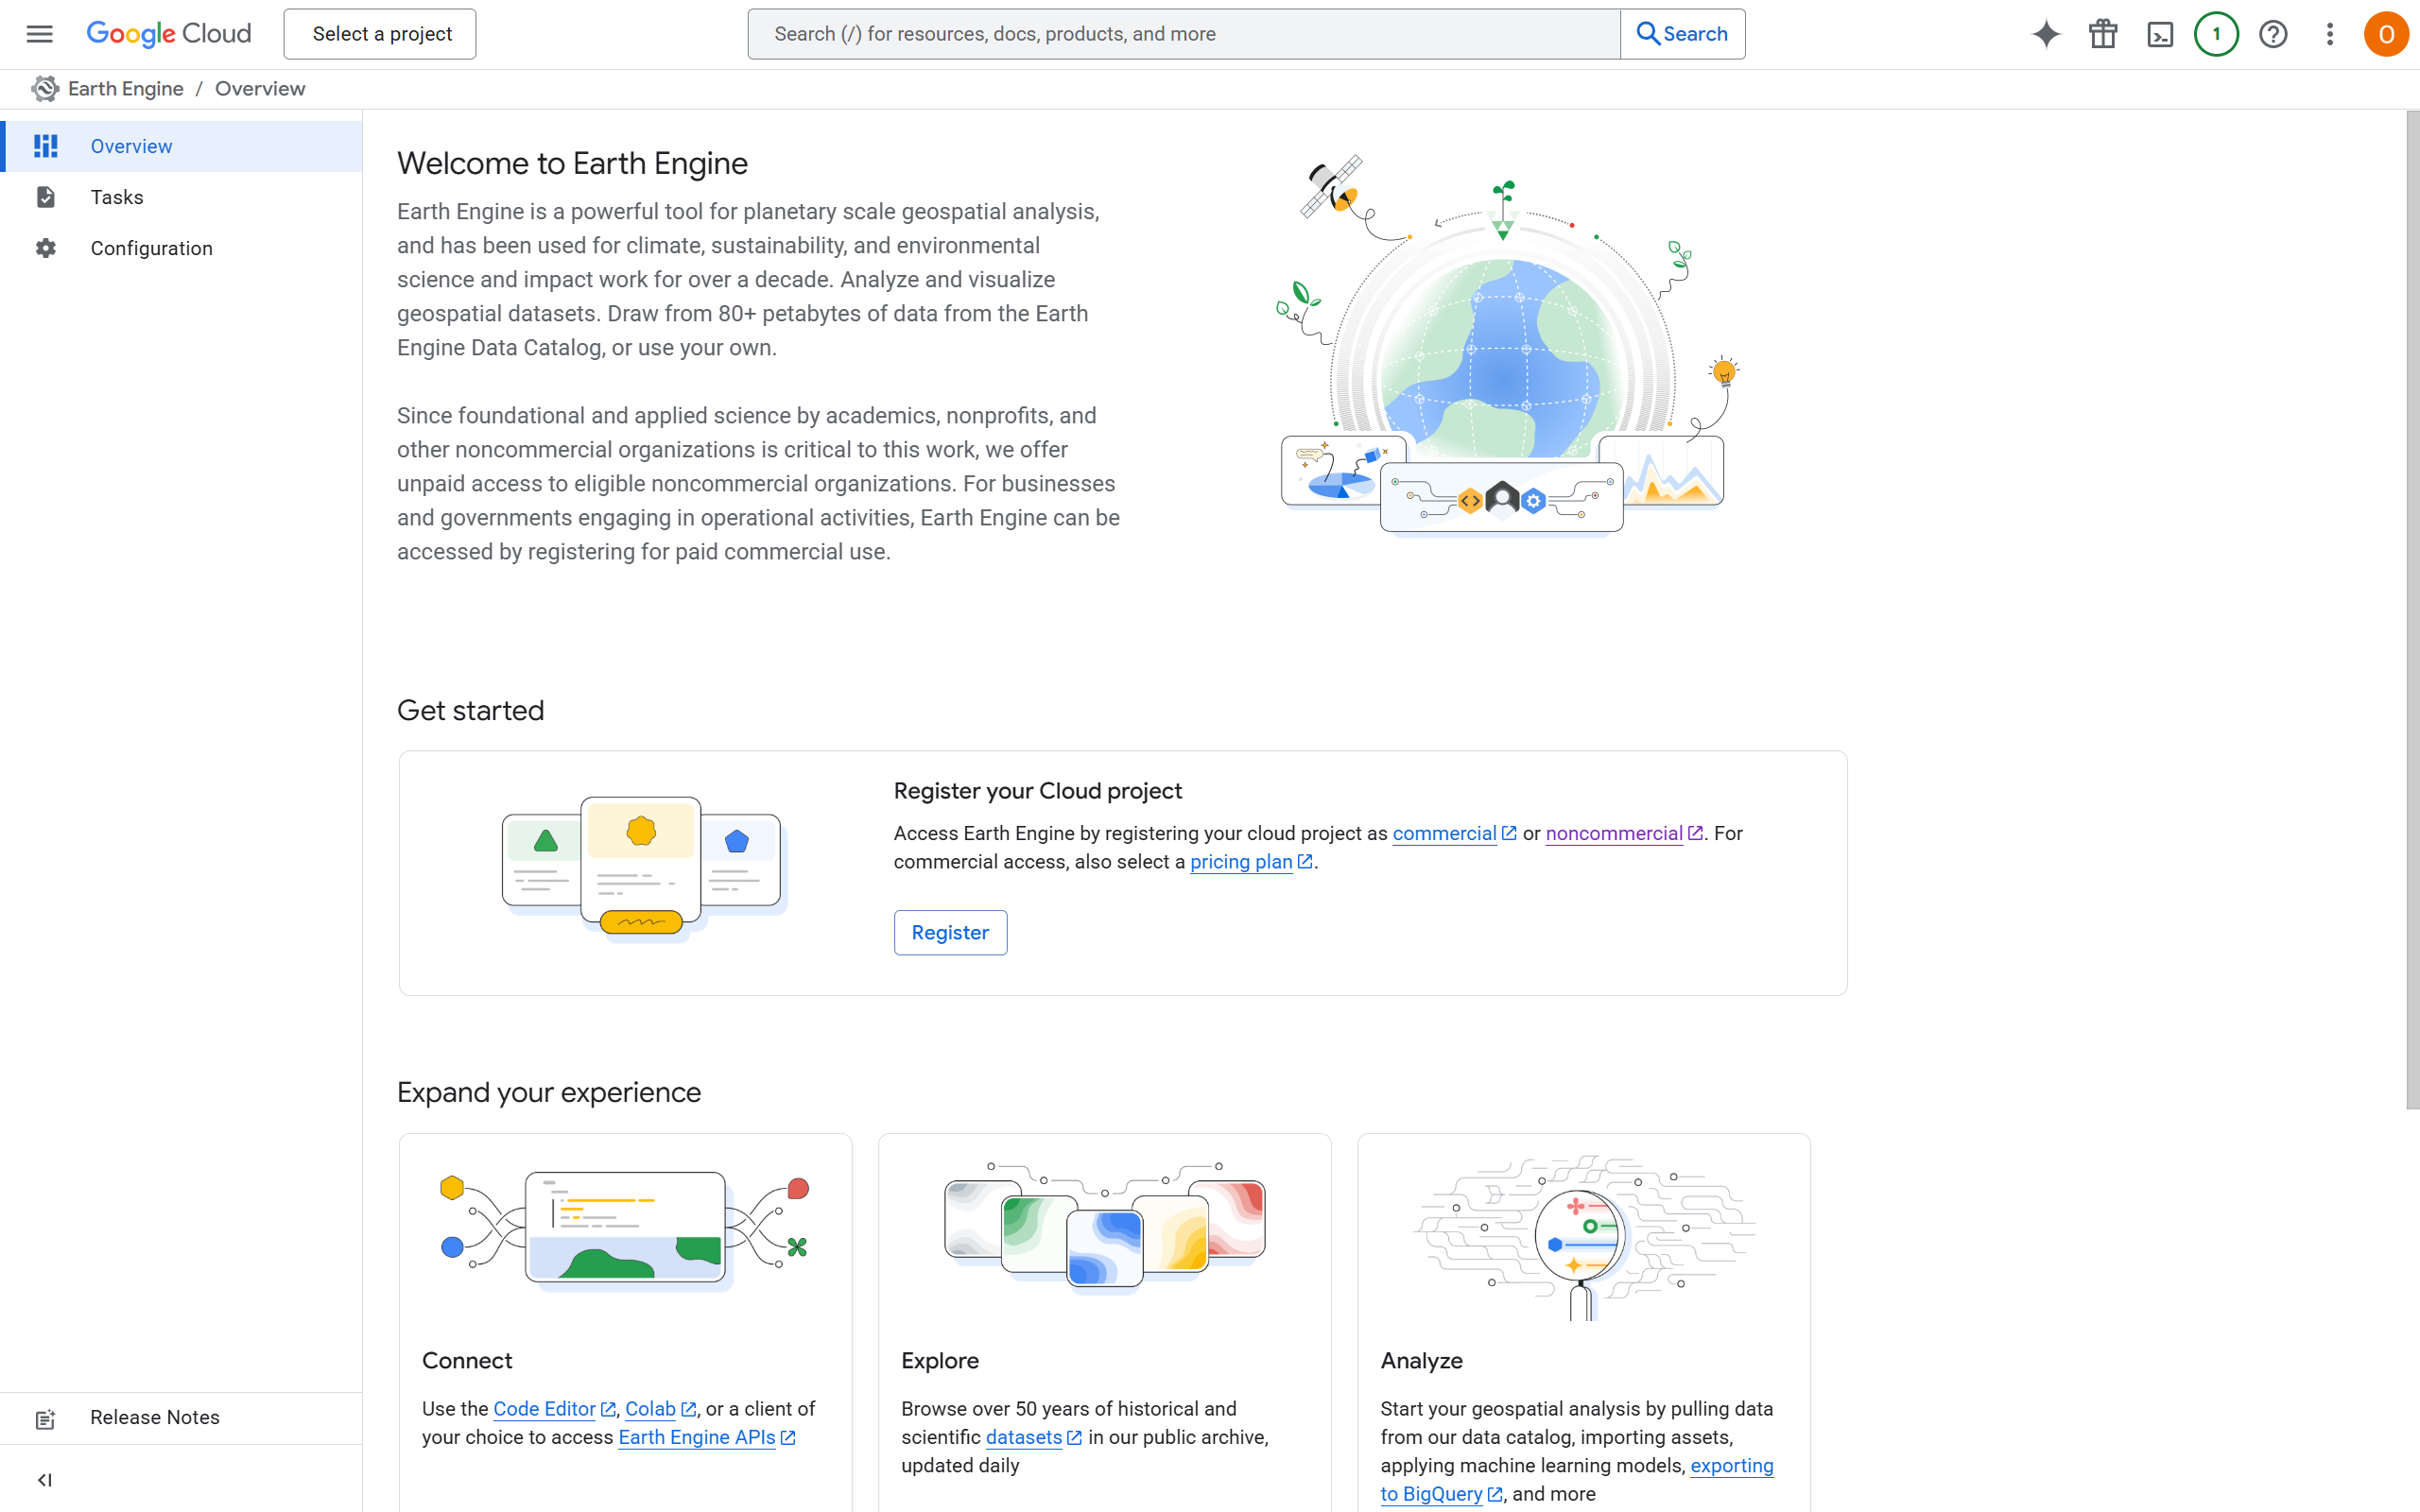
Go to console.cloud.google.com/earth-engine and sign into your Google account if you’re not already signed in. Click Register under “Register your Cloud project.”
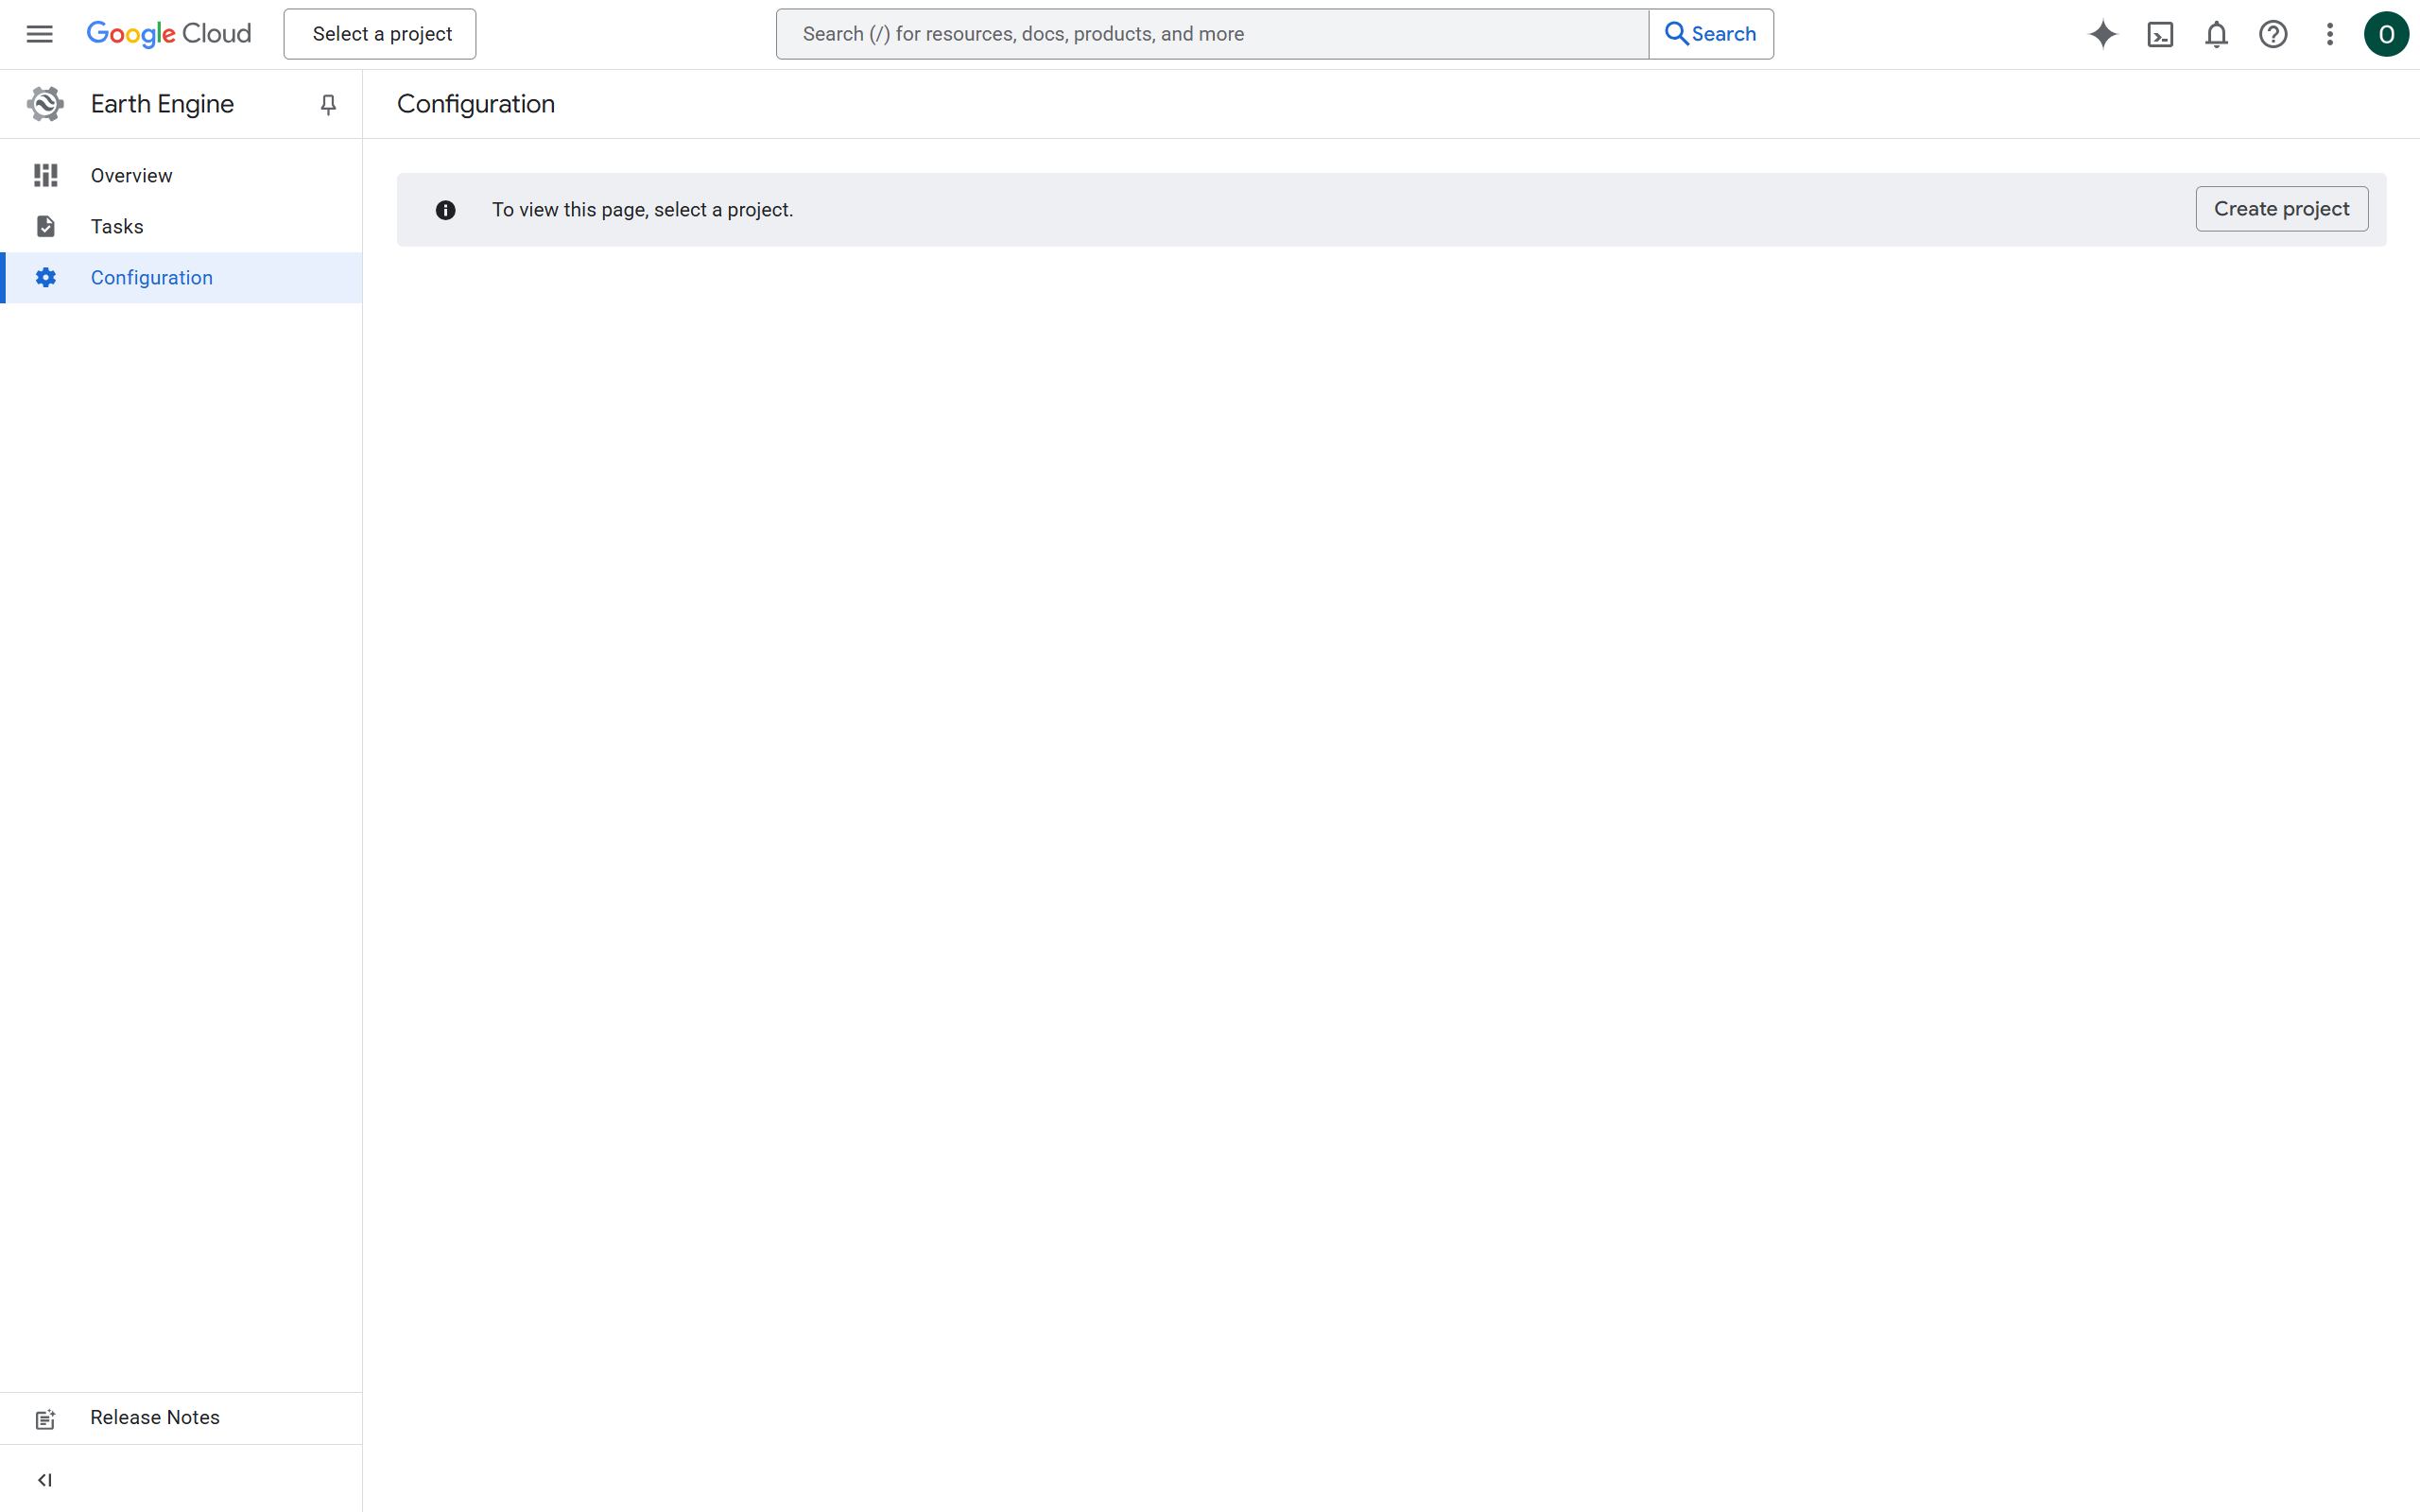
Click Create project
Enter a name like “emerge-lessons” and click Create. This name is your project ID. If you are using a .edu or an organizational email, this page may look different and you may have other options or limitations.

Important
Make note of your project ID! There may be some numbers after what you typed, like emerge-lessons-359891
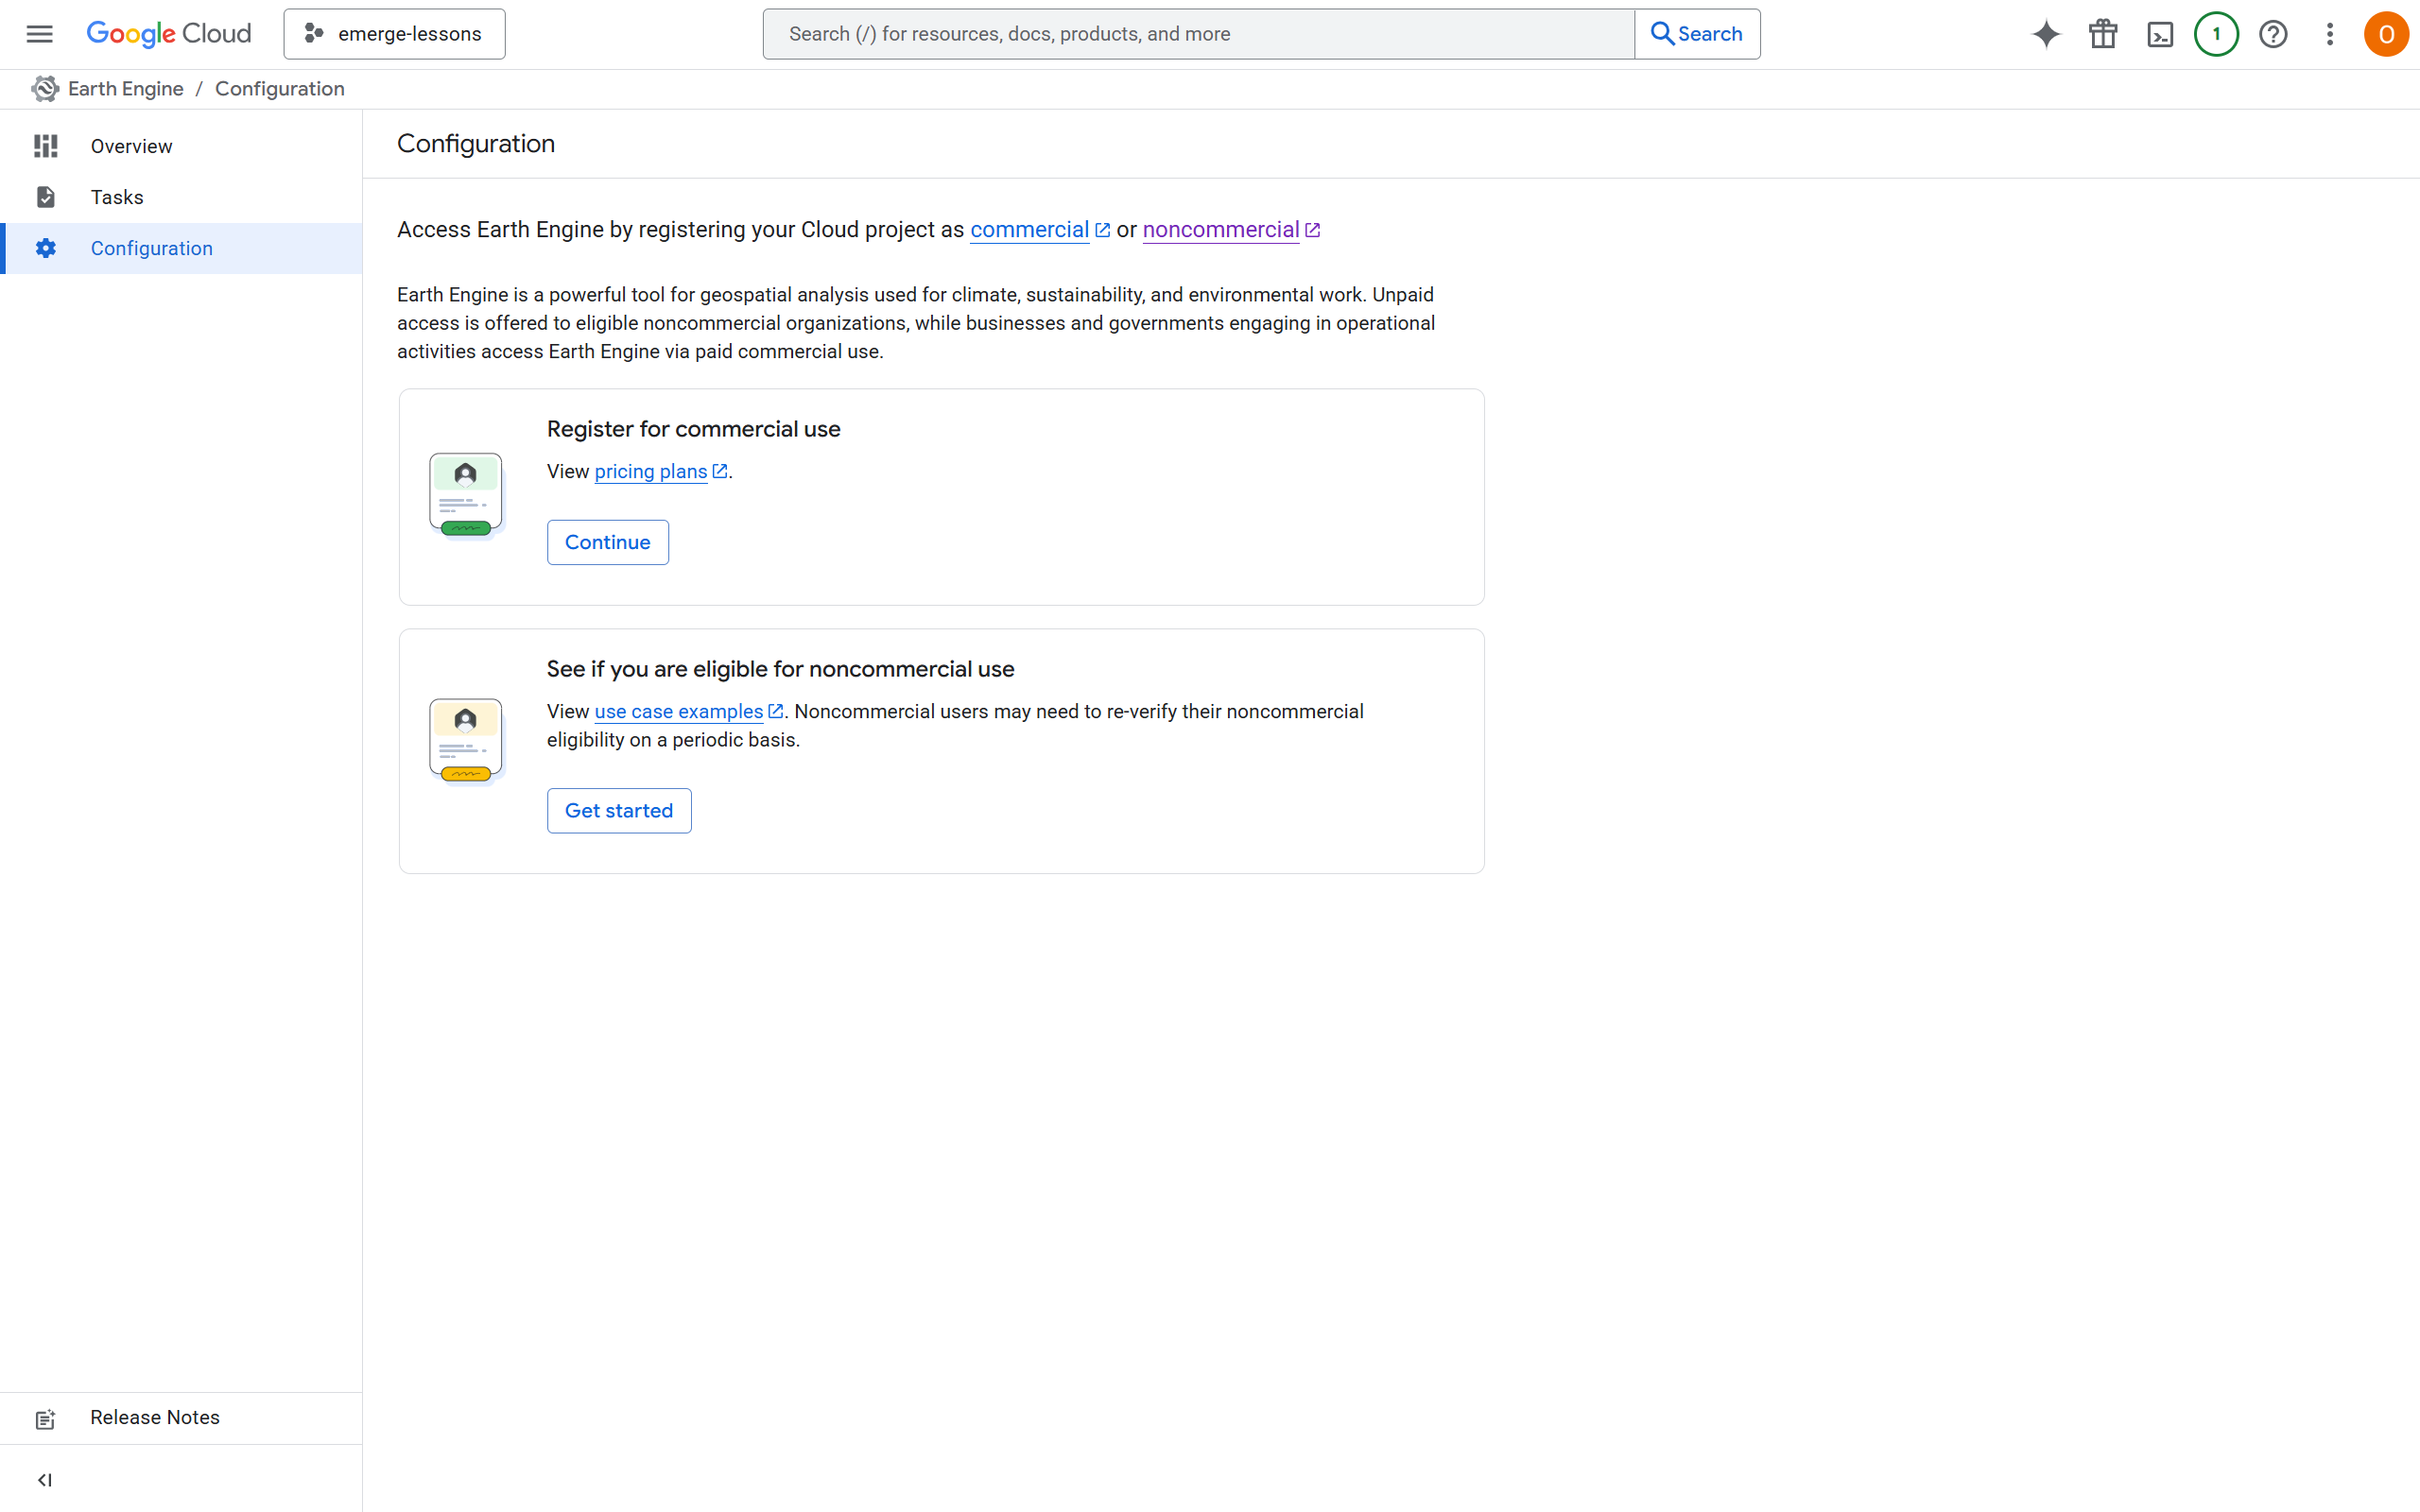
Click Get started under “See if you are eligible for noncommercial use.”
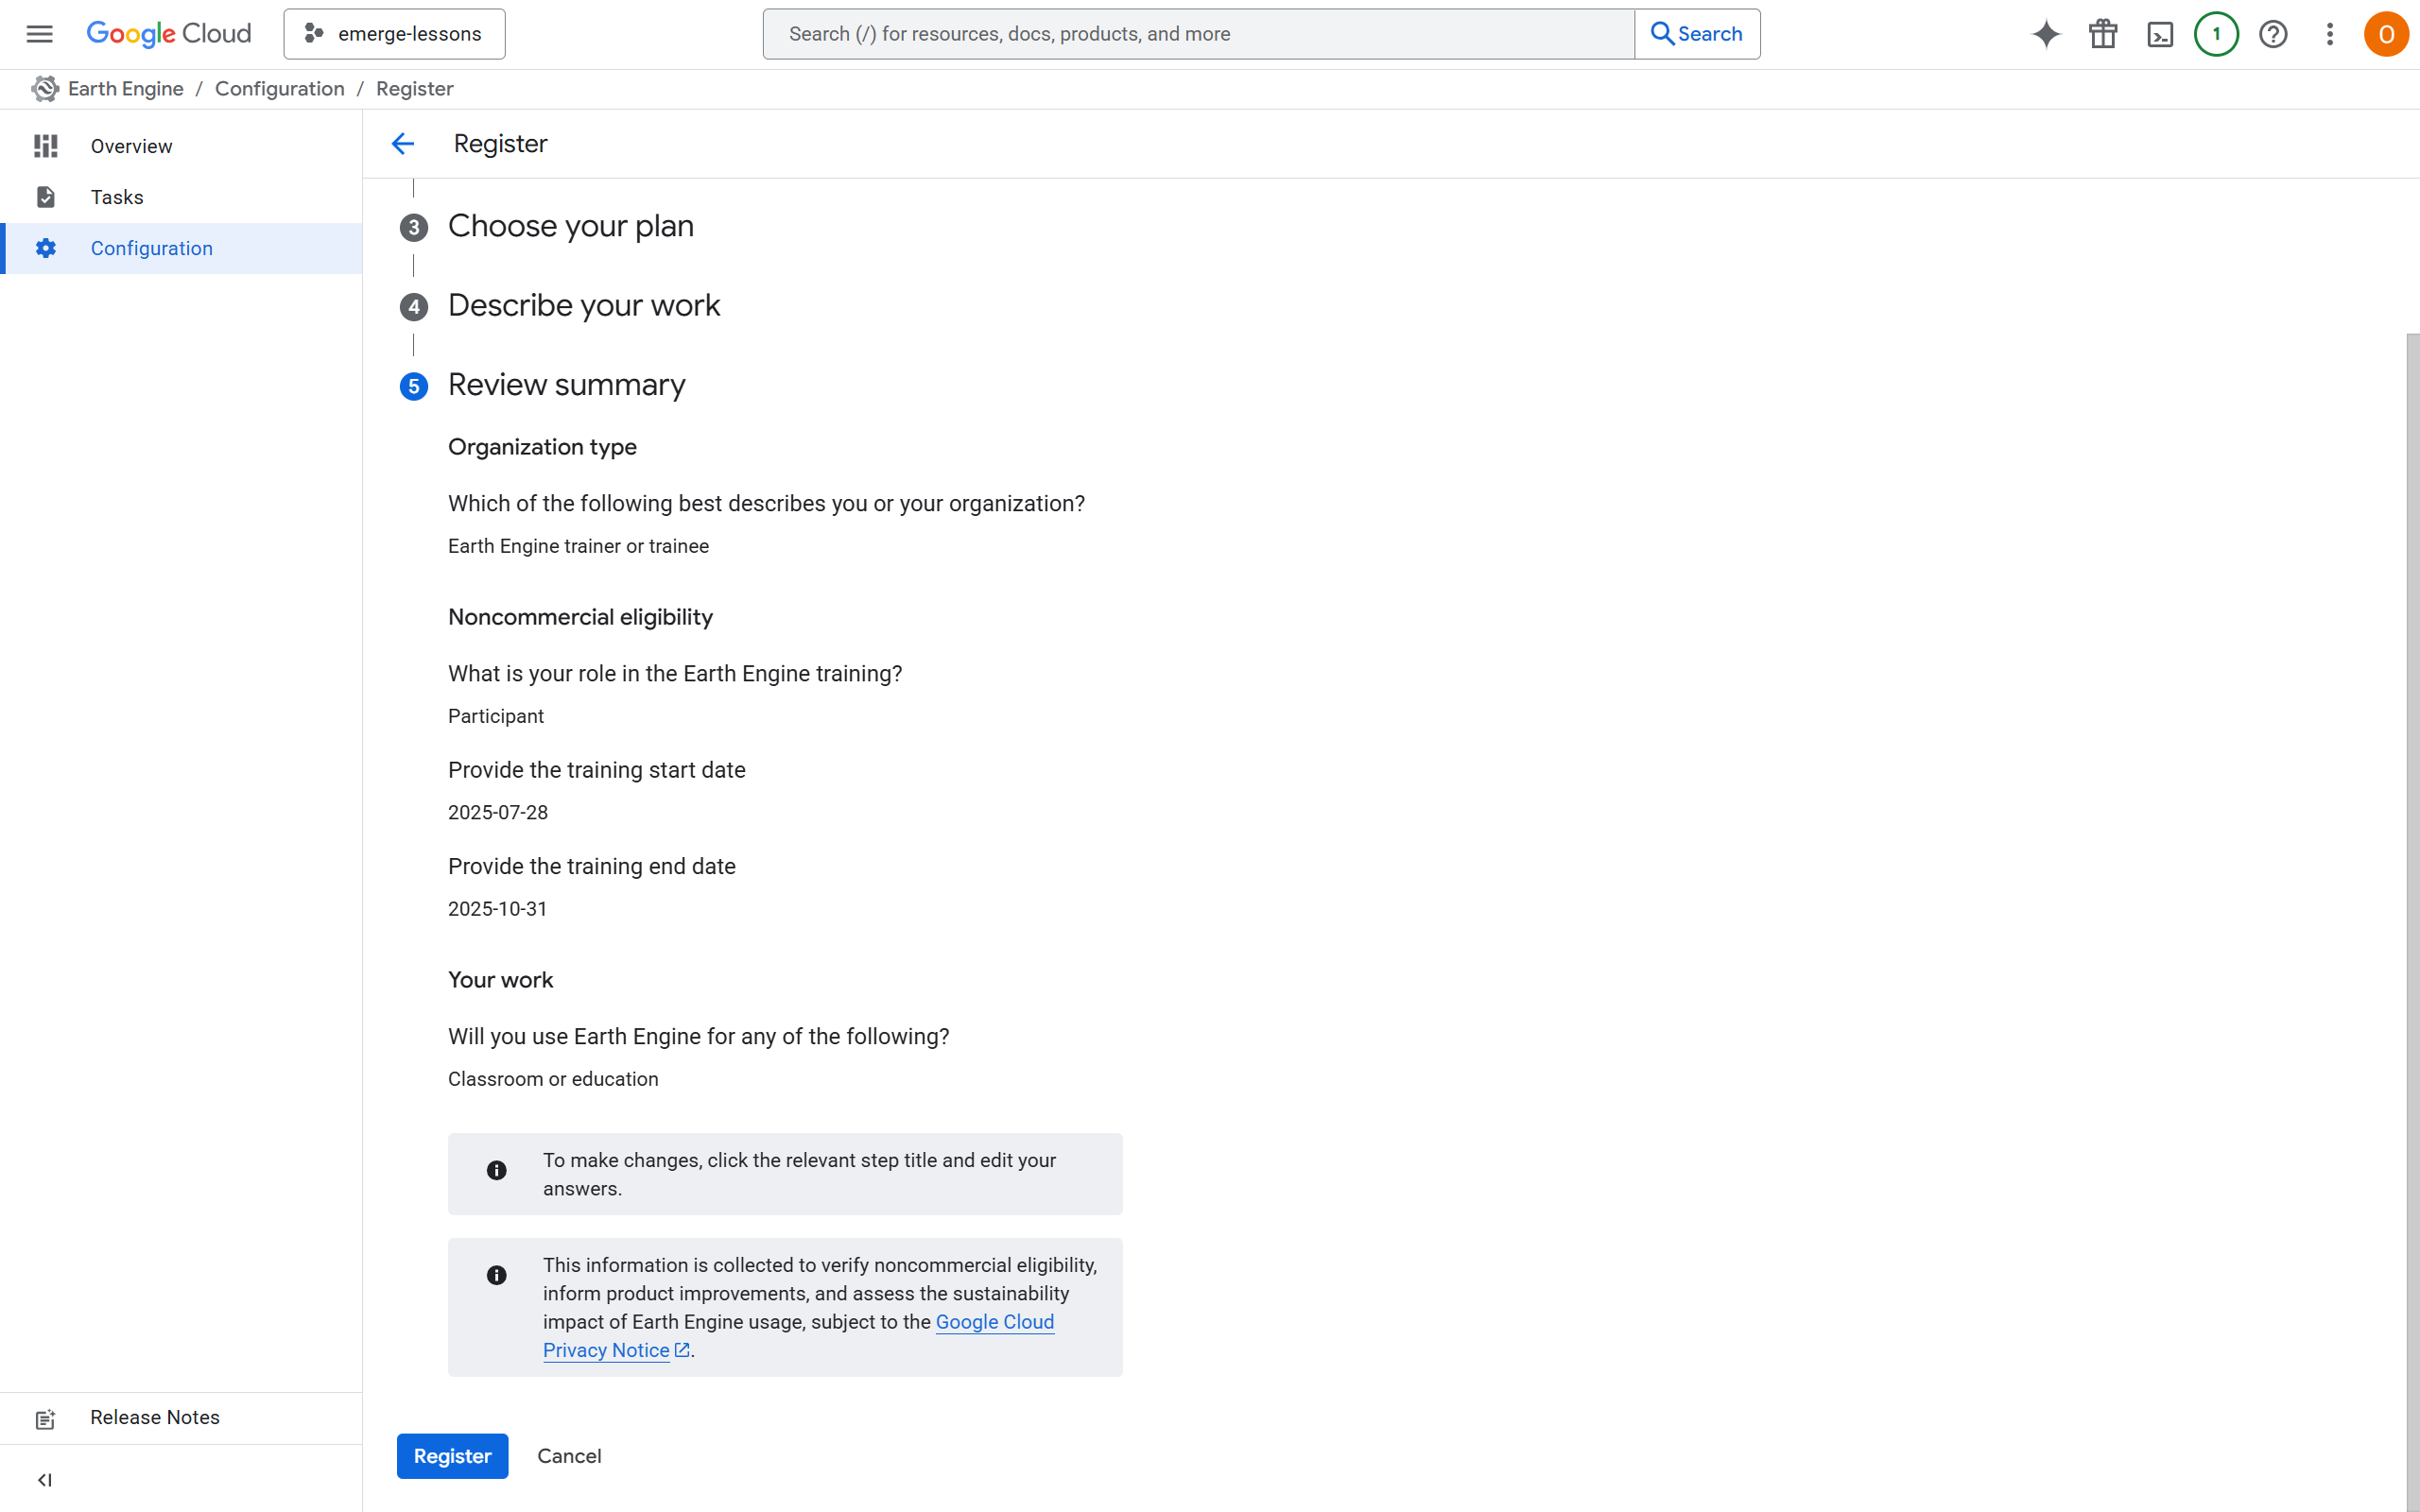
Complete the series of short questions as follows:
For “Select your organization type” choose “Earth Engine trainer or trainee” and click next.
For “Check noncommercial eligibility” choose “Participant” for the first question and then write the date you are starting the lessons, as well as the date you expect to finish. If you are not sure yet, you can put “09/01/2026.” If you end up needing more time, you can update this. Click Check eligibility
It should say Based on your answers, you are eligible for noncommercial Earth Engine use.
Click Next to go to Choose your plan. Under “Please select a quota tier,” you can select Community.
For “Describe your work,” under “Will you use Earth Engine for any of the following? *” choose “Classroom or education” and click OK. Then click Next
Your screen should look like below:
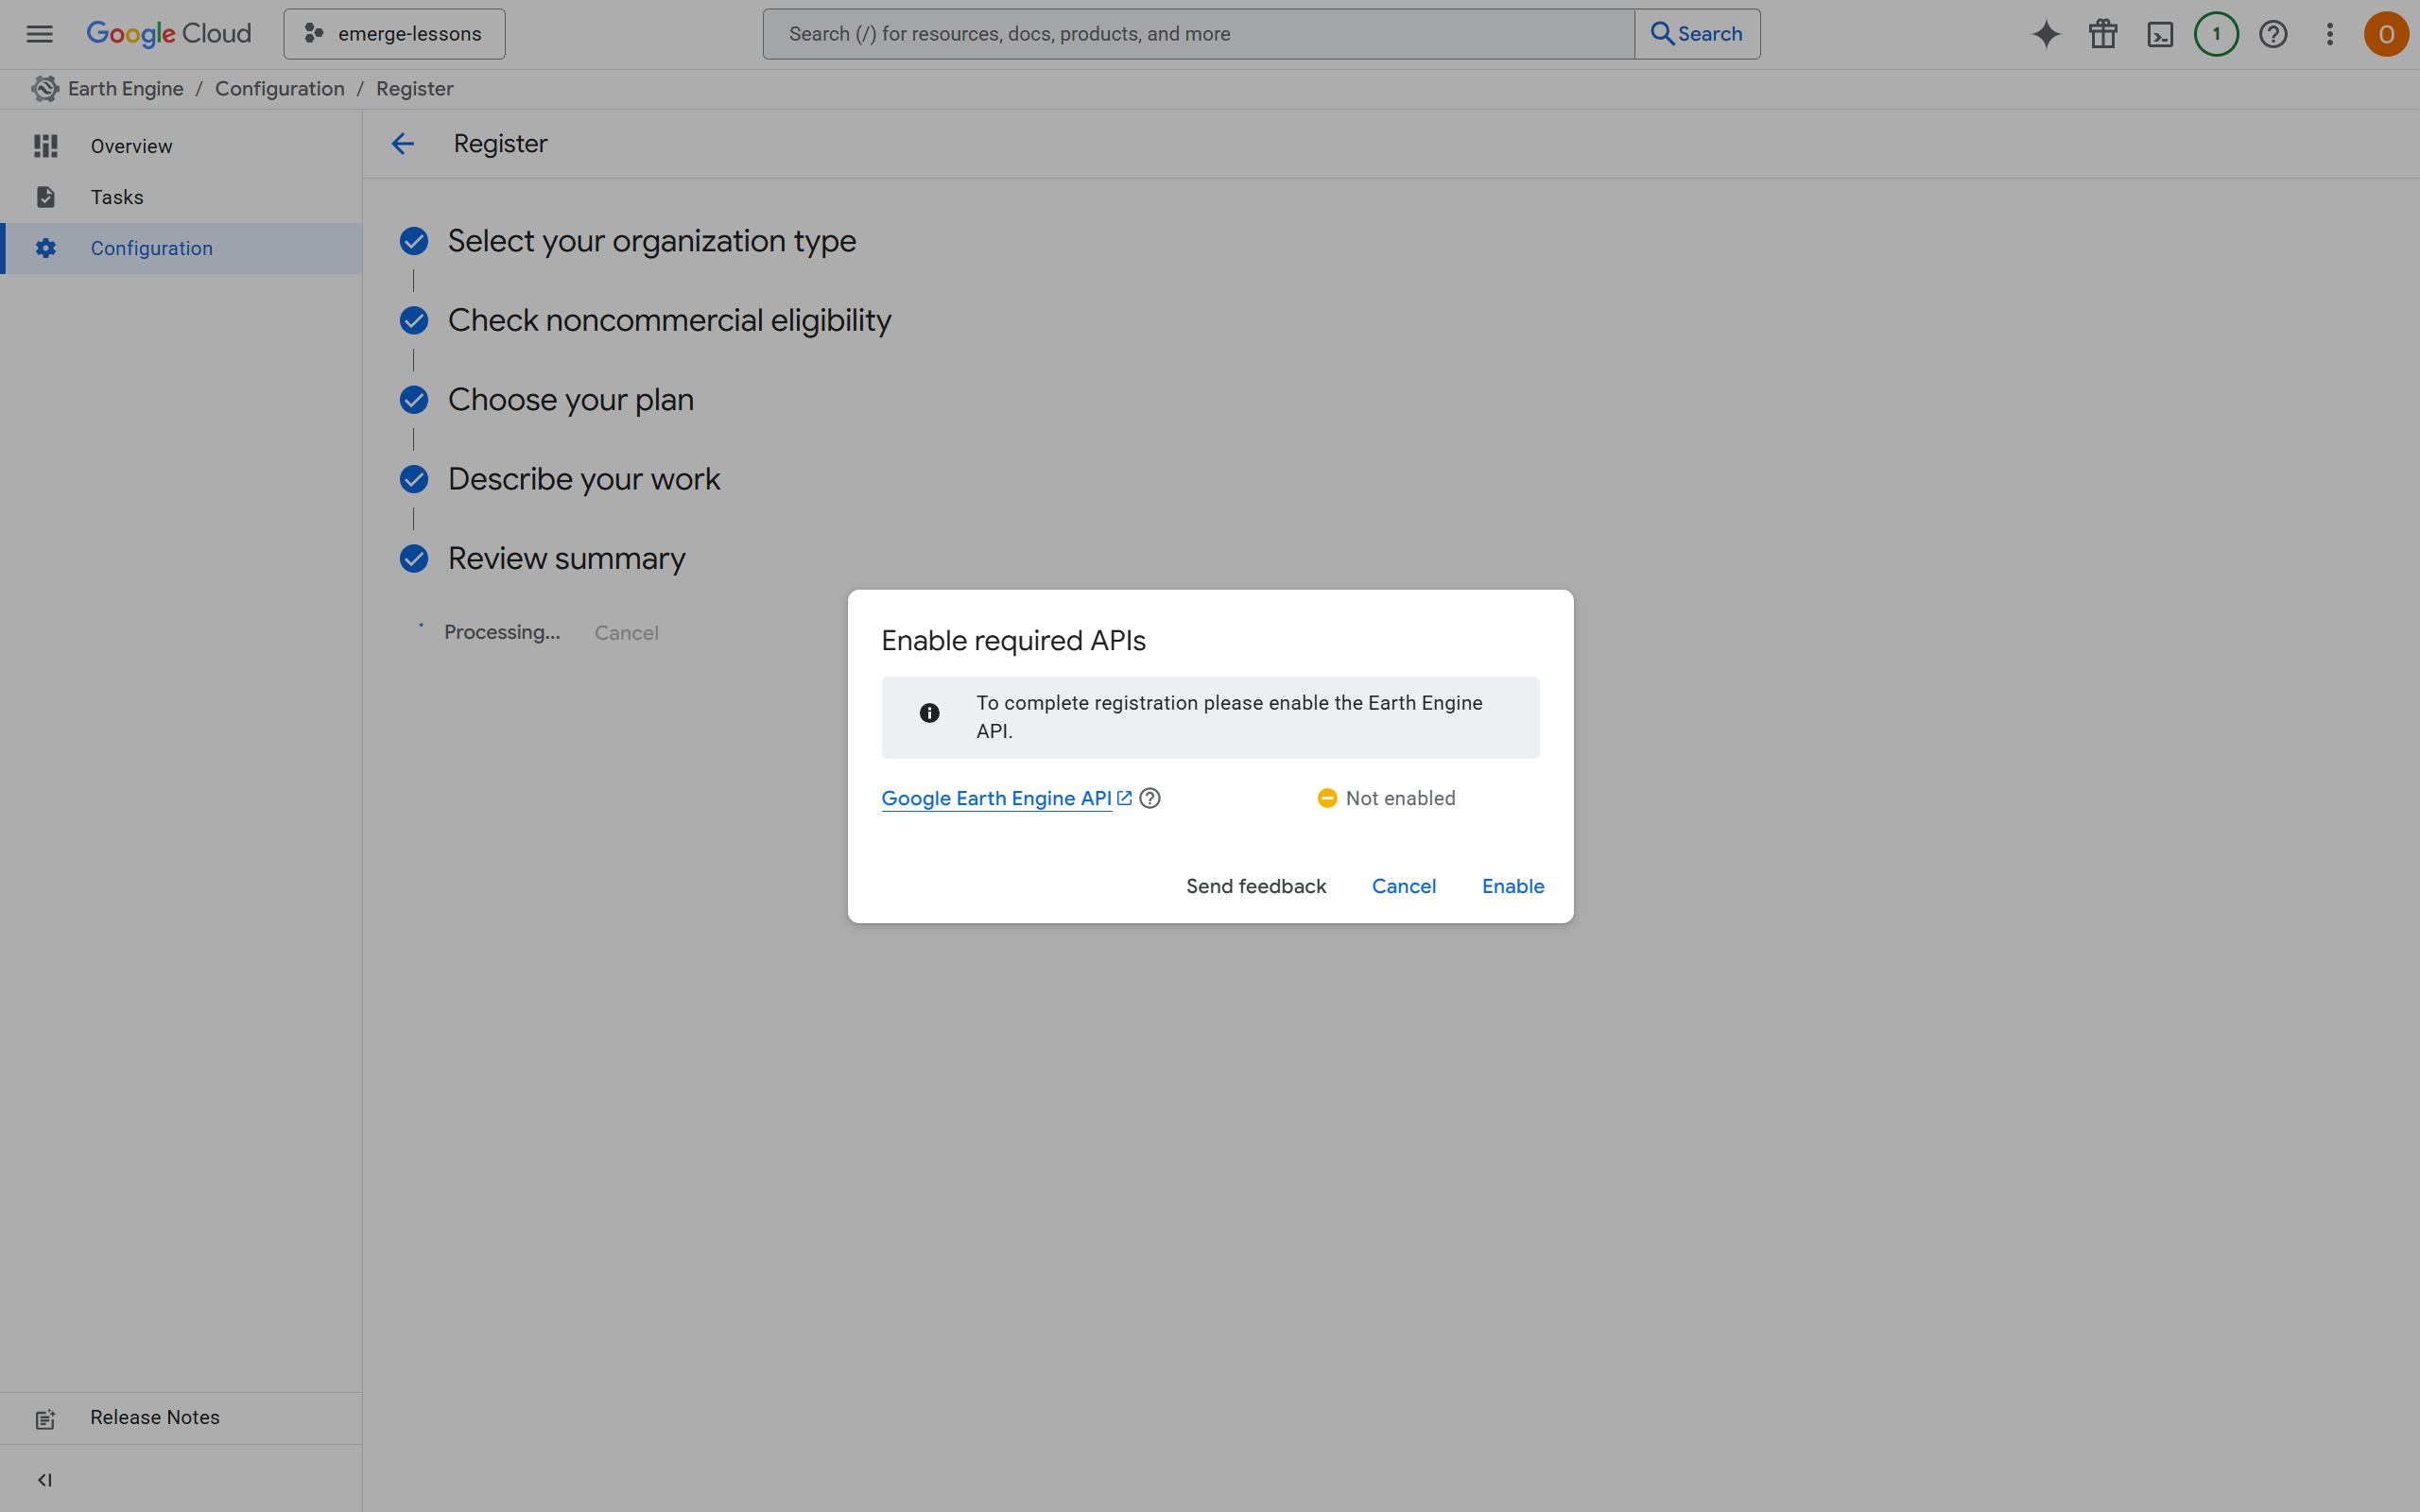
In the pop-up that appears, click Enable to enable the Earth Engine API.
You should see the page below. You can now close this tab.
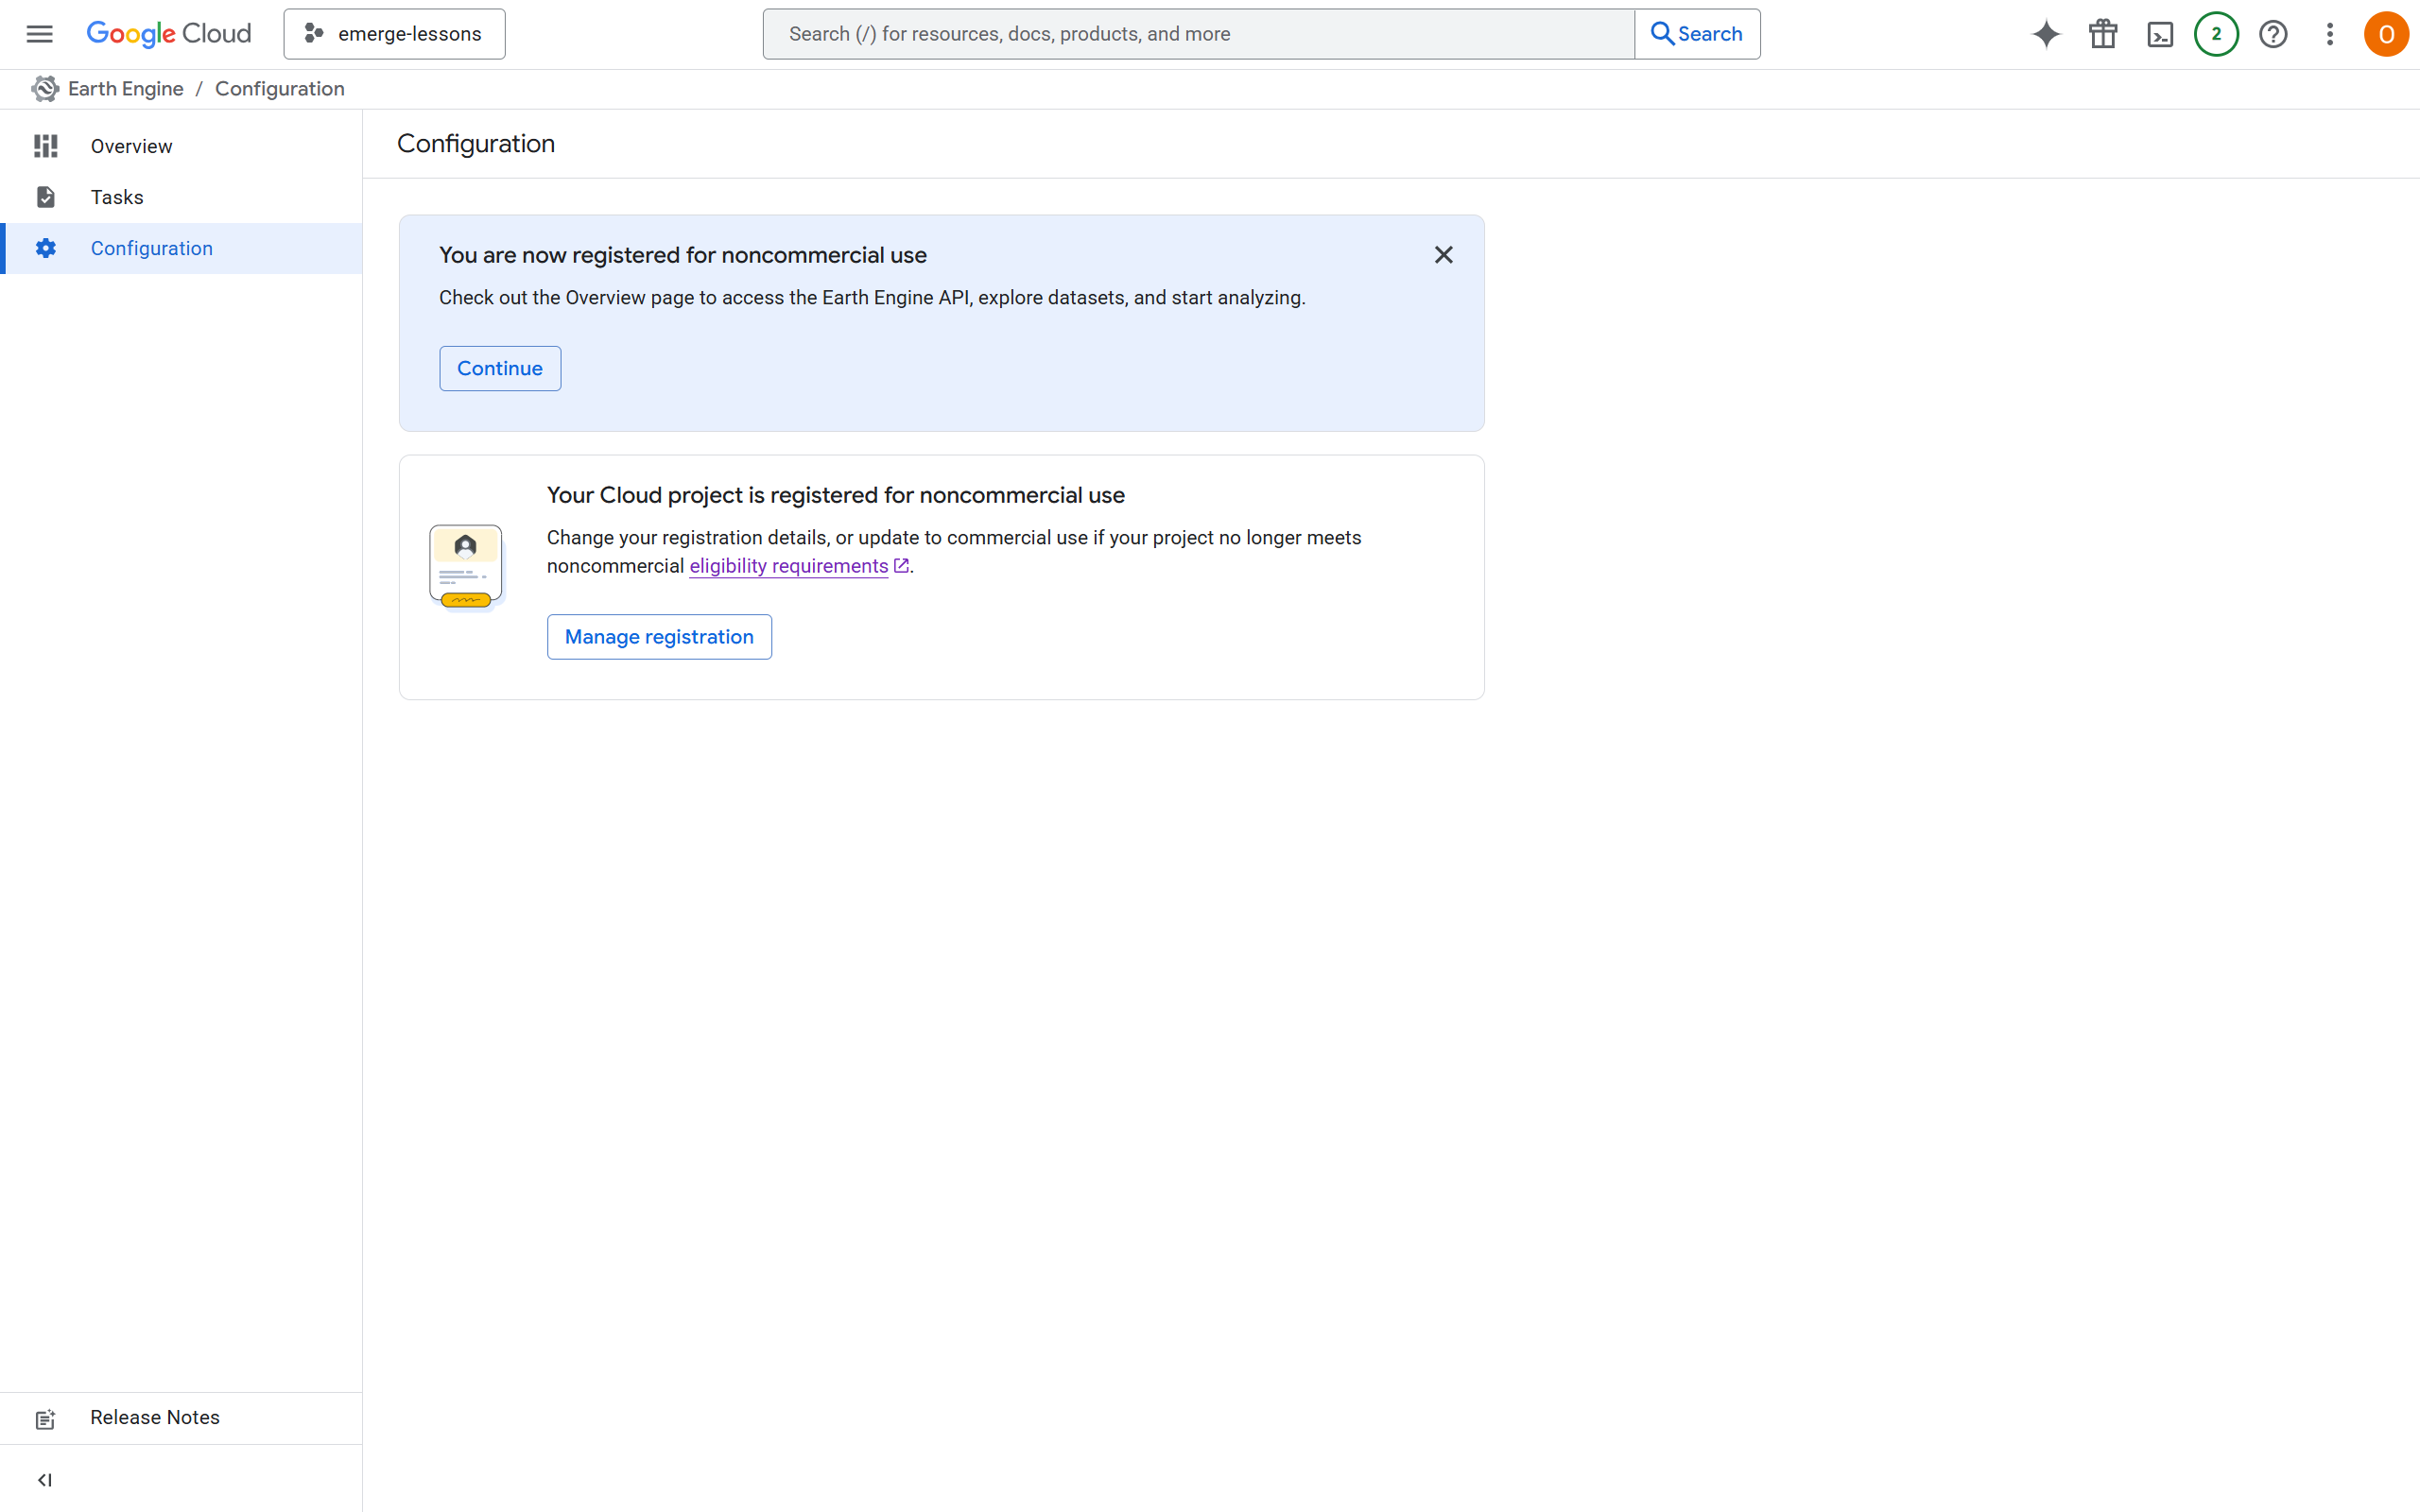
You have now created your cloud project and enabled the API! Move to the next section to start running Google Earth Engine in Google Colab.